A guide to understanding the Font element and custom fonts
In our Layout & Design Tool, you can use the Font element to determine which fonts are rendered on your site.
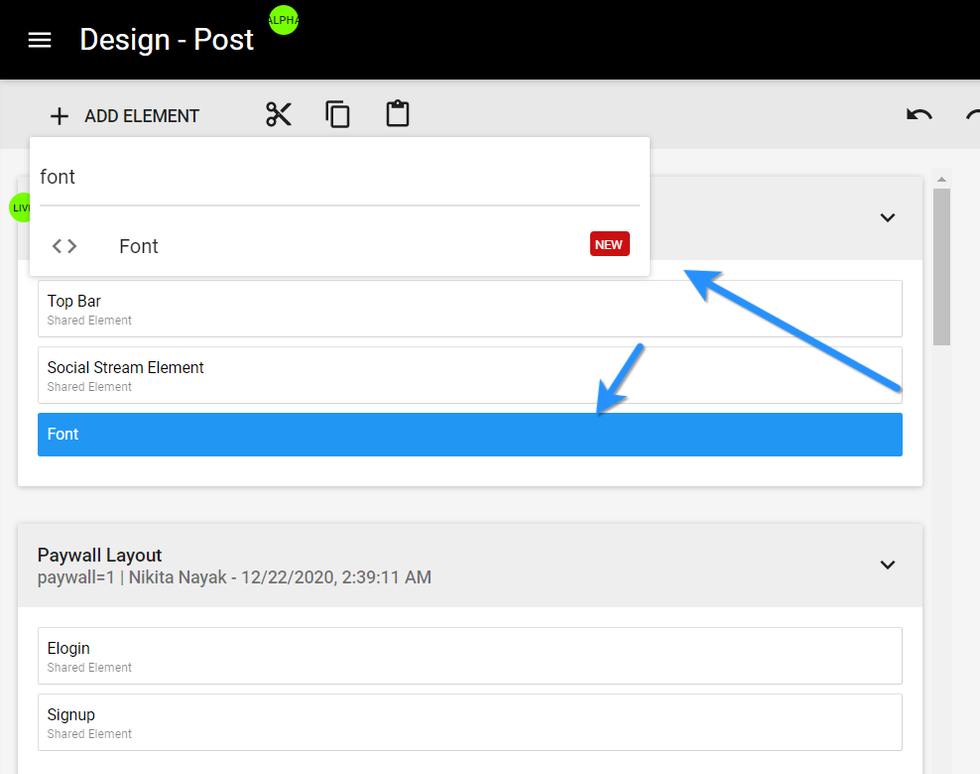
Within the Font element, you can configure your site's fonts using the Properties card, including font name, weight, priority, and style.
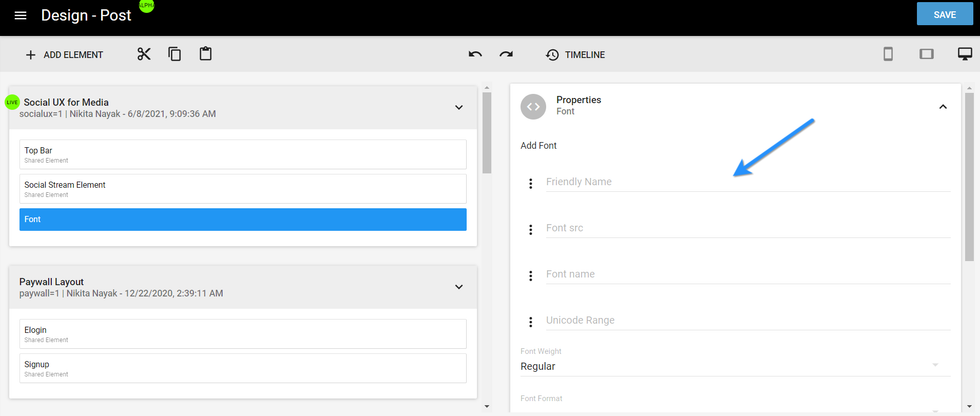
You also have the ability to set a font's Unicode Range. This determines the specific range of characters that define the font. Click here to learn more.
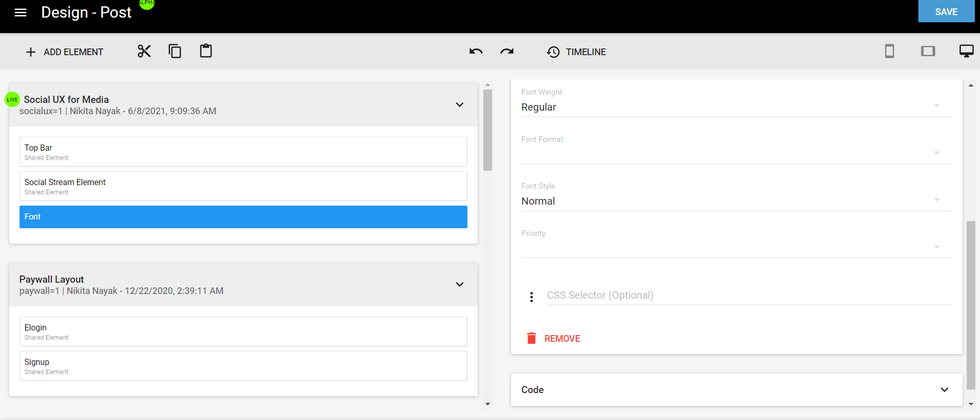
When it comes to loading priority for a font, you have two different options that you can choose from:
Load Blocking: This option will load all of the fonts on a page immediately.
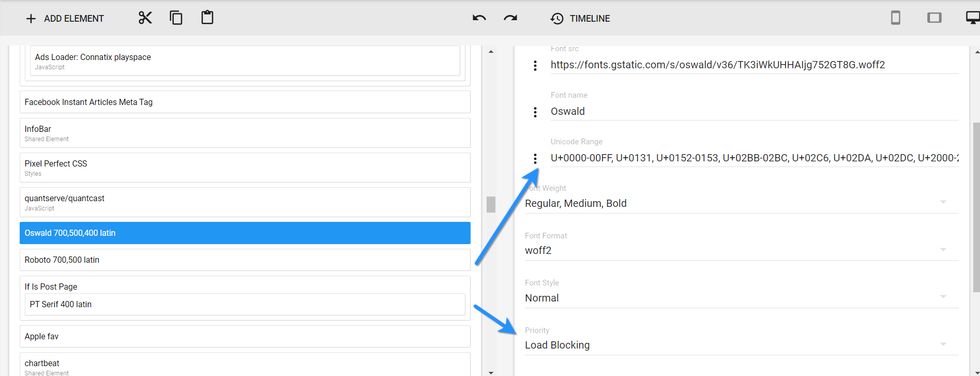
Optimized (Lazy Load): This option loads fonts only when the element enters a user's viewport. This option is ideal to optimize the performance of the page.
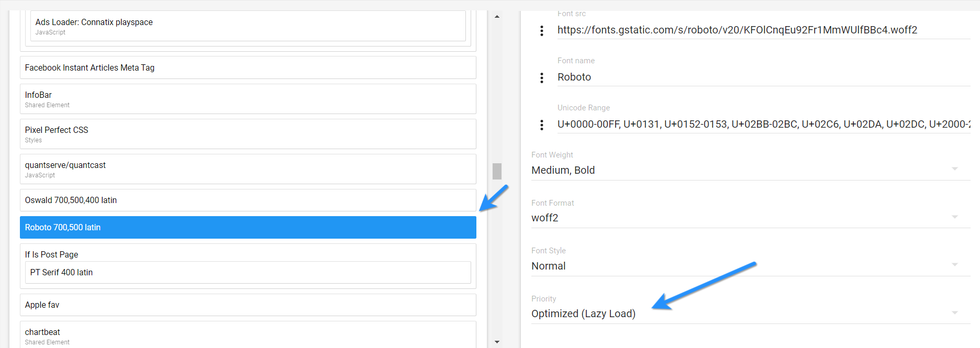
Whether you choose Load Blocking or Optimized (Lazy Load) to prioritize the loading of your fonts, either option will help improve the performance of your site.
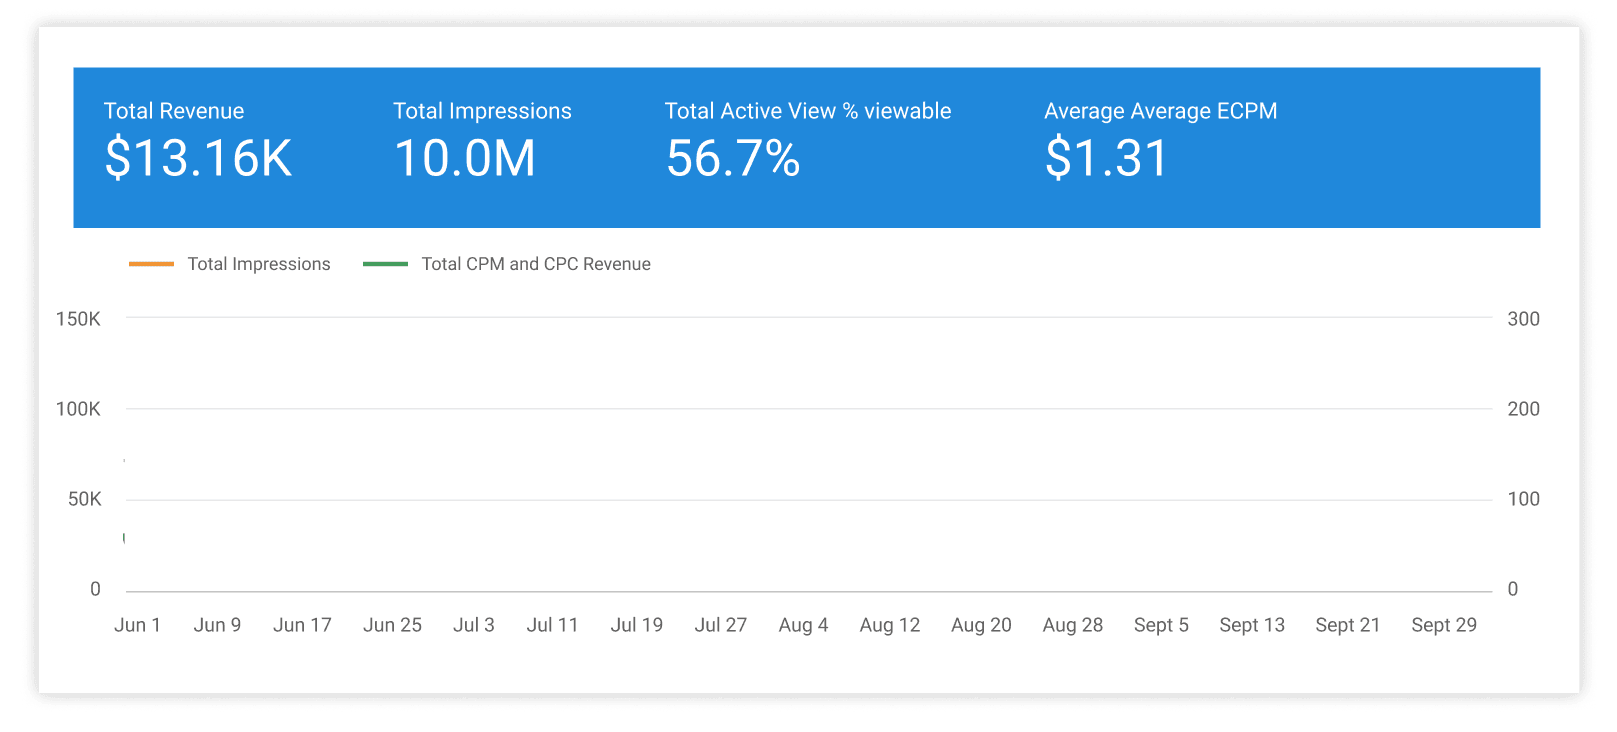
In your site's Global Settings , you can use Google Fonts and Typekit to access fonts that require extra CSS. But this can often slow down your site's load time. Here's an example of a page using Google Fonts that's been tested for performance using Google's PageSpeed Insights tool:
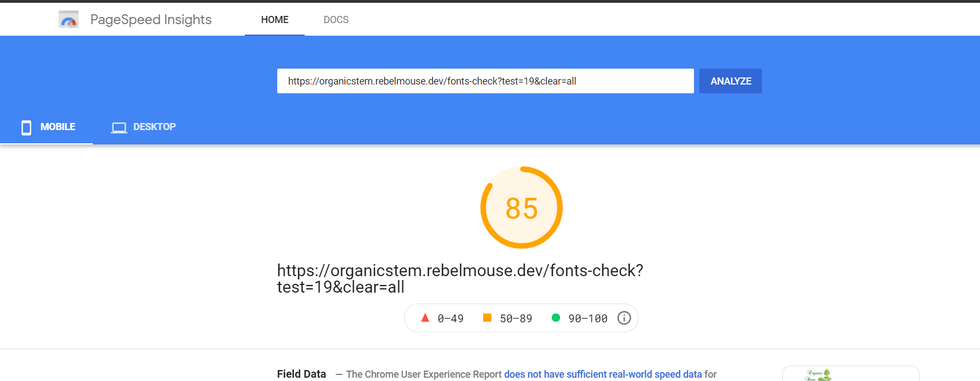
Now, here's the same page using our Font element with its loading priority set to Load Blocking:

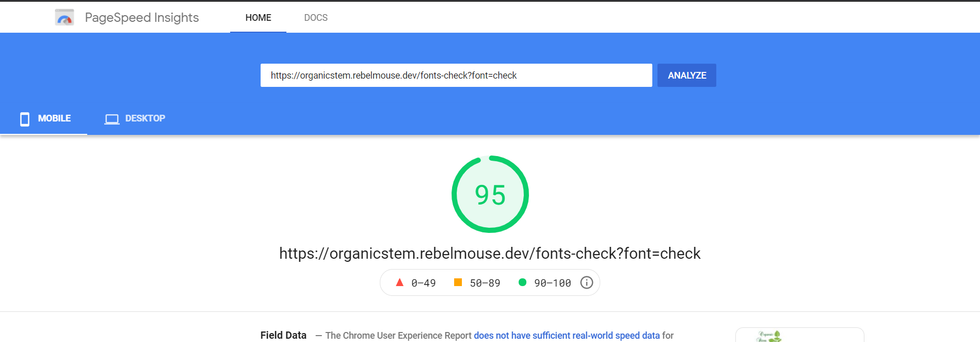
And here's the same page again with our Font element's loading priority set to Optimized (Lazy Load):
Custom Fonts
In Layout & Design Tool's Global Settings, we have a lot of options to choose from between Google Fonts and Typekit, but sometimes you just have to use another font that's not available from those two sources. Maybe it's due to your corporate style guide, but don't sweat it — we've got you covered.
How to Use Custom Fonts
First, host your font on Amazon S3. This is a necessary step to implement your custom font on your RebelMouse-powered site.
Log in to your Amazon S3 account, select or create an appropriate folder for your font, and then upload the font files.

Next, add your custom font to your Top Bar using a Header Code element.
Go to the Layout & Design Tool in the left-hand navigation menu. Open up the Top Bar for your site, click on + ADD ELEMENT in the toolbar, and select the Header Code element:

It should look like this:

In the Properties card to the right, you need to paste your code using the following format:
<style> @font-face { font-family: 'Intro'; src: url('//s3.amazonaws.com/partners.rebelmouse.com/DogVacay/Intro/Intro.eot'); src: url('//s3.amazonaws.com/partners.rebelmouse.com/DogVacay/Intro/Intro.eot?#iefix') format('embedded-opentype'), url('//s3.amazonaws.com/partners.rebelmouse.com/DogVacay/Intro/Intro.woff2') format('woff2'), url('//s3.amazonaws.com/partners.rebelmouse.com/DogVacay/Intro/Intro.woff') format('woff'), url('//s3.amazonaws.com/partners.rebelmouse.com/DogVacay/Intro/Intro.ttf') format('truetype'), url('//s3.amazonaws.com/partners.rebelmouse.com/DogVacay/Intro/Intro.svg#myfont') format('svg'); } @font-face { font-family: 'IntroBold'; src: url('//s3.amazonaws.com/partners.rebelmouse.com/DogVacay/IntroBold/IntroBold.eot'); src: url('//s3.amazonaws.com/partners.rebelmouse.com/DogVacay/IntroBold/IntroBold.eot?#iefix') format('embedded-opentype'), url('//s3.amazonaws.com/partners.rebelmouse.com/DogVacay/IntroBold/IntroBold.woff2') format('woff2'), url('//s3.amazonaws.com/partners.rebelmouse.com/DogVacay/IntroBold/IntroBold.woff') format('woff'), url('//s3.amazonaws.com/partners.rebelmouse.com/DogVacay/IntroBold/IntroBold.ttf') format('truetype'), url('//s3.amazonaws.com/partners.rebelmouse.com/DogVacay/IntroBold/IntroBold.svg#Myfont') format('svg'); } </style>
Note: Bear in mind that the above code is only an example . You need to update the font family and source URLs to match the custom font you uploaded to your Amazon S3 account.
Finally, start using your new font!
Now you can use the font(s) you've added to your site in your site's Global Settings , and in any custom CSS you want to implement across any of your pages.
Note: Implementing custom fonts using this method won't allow you to apply any weighting to them. So if you'd like to use a bolder or lighter version of your custom font, you'll need to do it manually in the font-family property.
Here's an example:

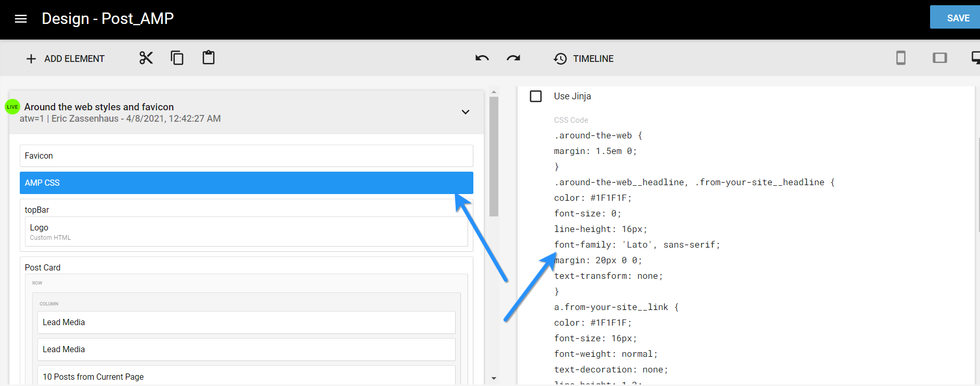
Fonts on AMP
AMP pages require CSS styling for fonts. You cannot use the Font element on AMP articles.
Learn More About Fonts on RebelMouse
If you have any questions about how to implement and style fonts on RebelMouse, email support@rebelmouse.com or talk to your account manager today.


