Our RebelMouse sites come with a default logo that you can easily change.

Start with a Retina-Friendly Image
There's no shortage of high-resolution displays available to users today. From high-end monitors to smartphone screens to Apple's own Retina-display technology, it's more important than ever to make sure your images look crisp on all displays. And there's no better place to start with than your logo. So how do you create a Retina-friendly image? A good rule of thumb is to double the image's dimensions.
For example, if you have a 100 x 200 pixel logo that you want to use on your site, you'll want to create and use a 200 x 400 pixel version of it. ( Note: We said create . If you're just taking an existing image and blowing up its size, then you're in for disappointment. This is because you're stretching the existing pixels instead of condensing them, which results in a blurry finished product. In our example, we'd want to create and save a 200 x 400 pixel image from a larger source file.)
Once the new logo is placed on your site and automatically scaled down to 100 x 200 pixels, the pixel count doubles, resulting in a a sharp image that can be enjoyed at most resolutions.
Here's How to Change Your Site's Logo
1. Go to the Layout & Design tool in the left-hand navigation menu.
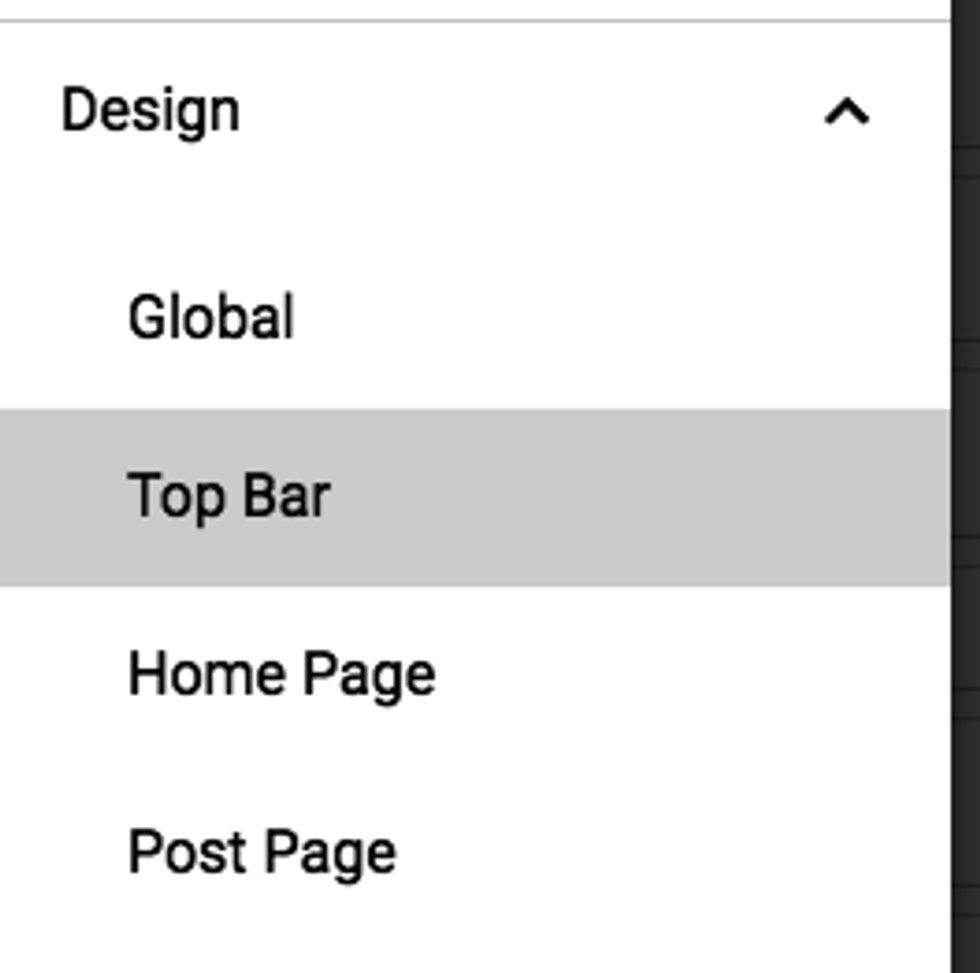
2. Click on the page that you want to change the logo on (most common places would be Top Bar or Footer ). Let's click on Top Bar for this example:
3. Click on the Logo element.
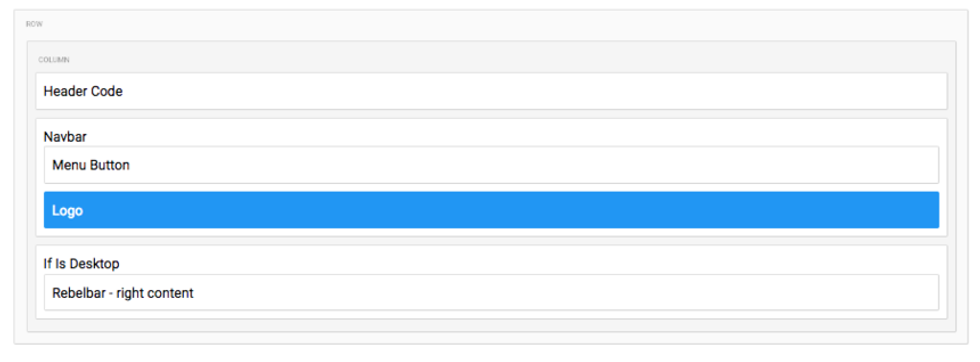
4. On the right-hand side, a Properties card will appear for the element, allowing you to upload your own logo.
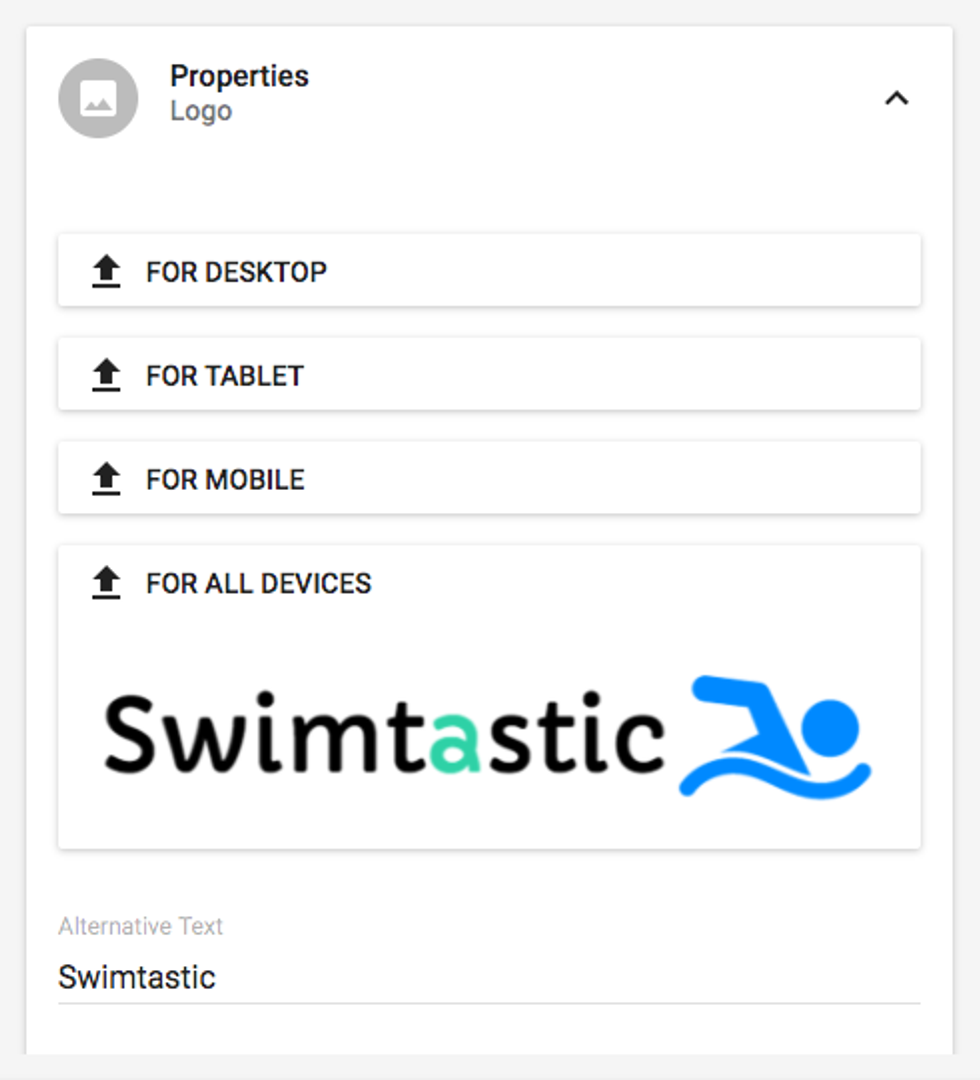
You can choose whether you want different logos to display for desktop, tablet, or mobile, or one logo for all devices.
5. Don't forget to click Save after uploading your image(s)!


