With RebelMouse's Layout & Design Tool, it's quick and easy to change how a user's information is formatted and displayed on their profile page.

In this post, we'll go through the steps necessary to expose and customize the way a user's joined date is displayed and formatted.
How to Expose and Format a User's Joined Date
Start by opening the Layout & Design Tool, navigate to your Profile Page, add a Custom HTML element to the layout, and then open the Code view.
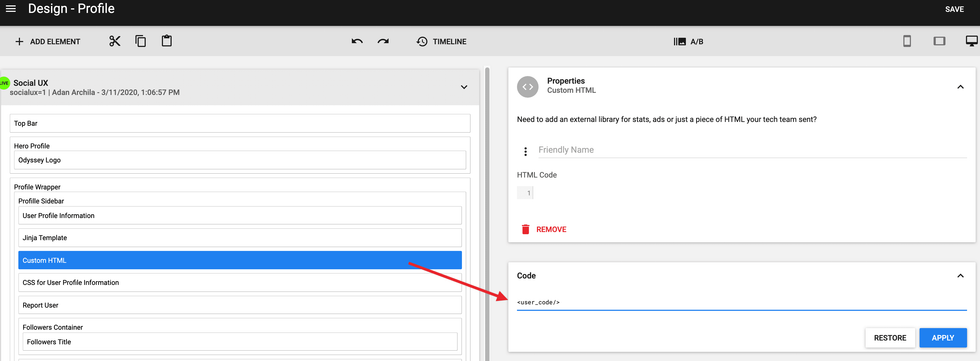
Next, change the source code to the following:
<jinja>
  <![CDATA[
]]>
</jinja>
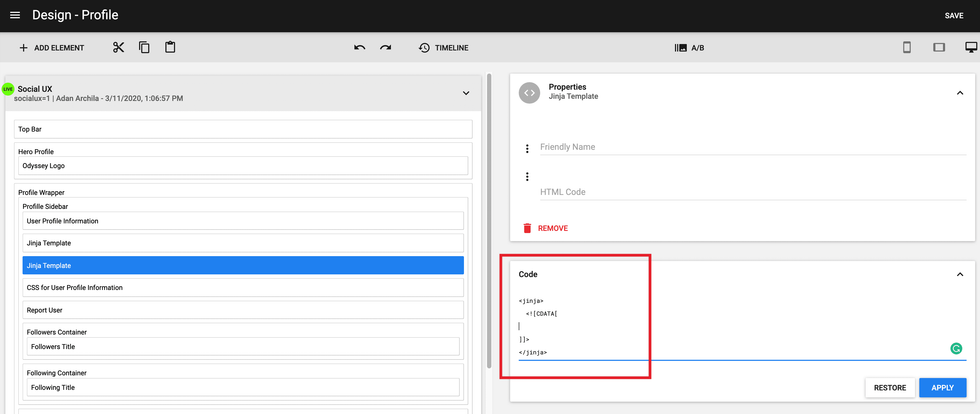
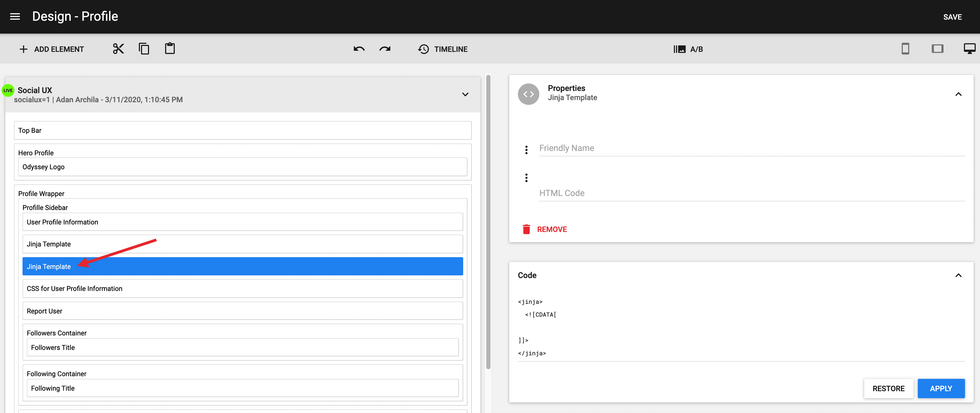
Then, click Apply . Once applied, your element should change from Custom HTML to Jijna Template :
From here, you have a few choices on how you would like the information to be displayed. The first option is to paste the raw variable and print the date:
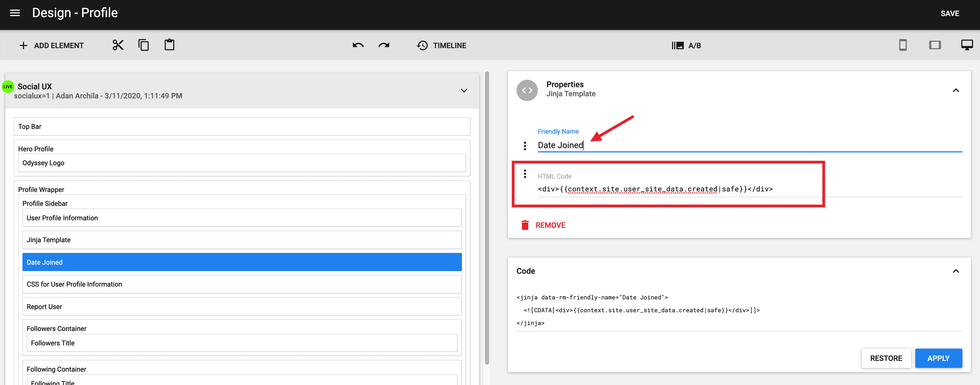
<div>{{context.site.user_site_data.created|safe}}</div>
You can also format the date using the method strftime() . This will display the calendar month and year instead of the exact date and time.
<div>{{context.site.user_site_data.created.strftime('%B %Y')|safe}}</div>
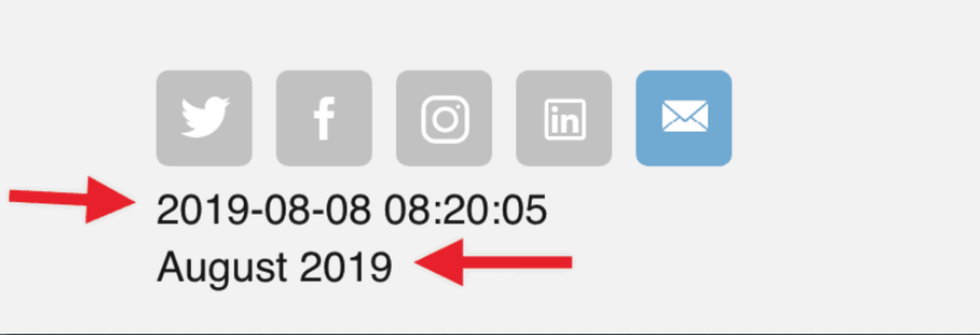
The following screenshot shows both examples being displayed at once. The first option is on top, and the second option is right below it.
If you have any questions on how to complete these steps, please reach out to your account manager or email support@rebelmouse.com .


