For Social UX to be successful, it's vital that you have the right ads set up.
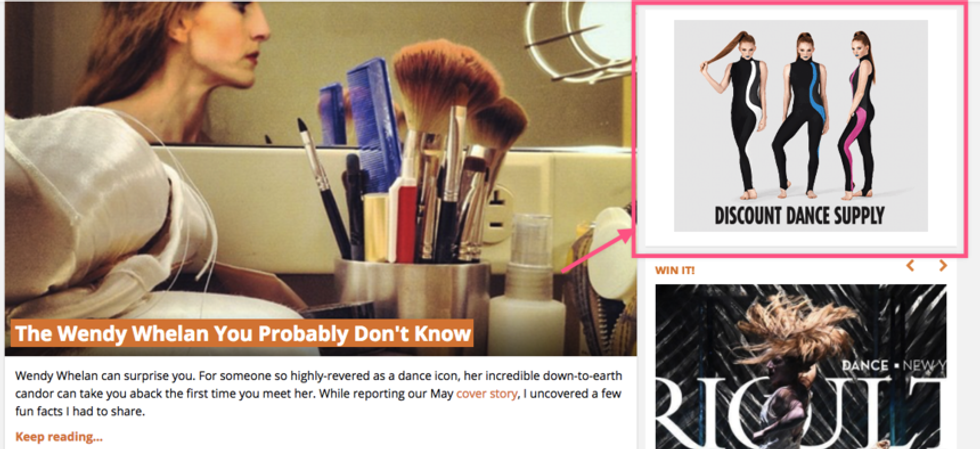
We understand that with longer sessions, you get less ad impression unless you make them asynchronous and have them refresh every 20 seconds, 30 seconds, or minute. For Social UX specifically, since it's an addictive stream of content, it's important to have some sticky ads visible. That's why the Sticky element was created.
What Is the Sticky Element?
It's another element inside the Layout & Design tool that you can place within your page template. Much like the Conditional Content element, you use it to nest other elements inside of it . The main purpose of the nesting is so you can make the children elements sticky: an ad tag, a piece of custom HTML code, a Facebook widget.

How to Set It Up
1. Go to the Layout & Design tool in the left-hand navigation menu.

2. Find the page you want to place the Sticky element in. Click on + ADD ELEMENT and select Sticky .
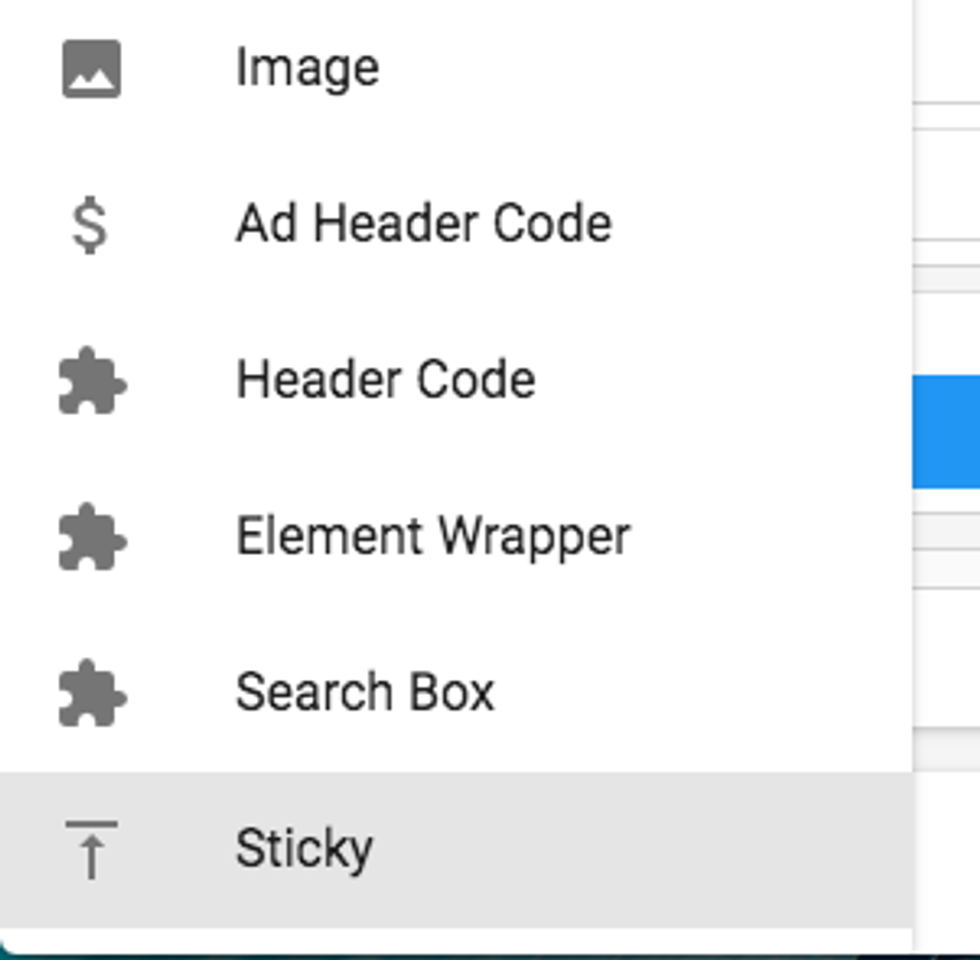
3. Once placed, you can drag and drop any existing element inside of it or start from scratch and add a new element to it.
4. If you select the Sticky element, you'll see you can change the offset for it in the Properties card to the right.
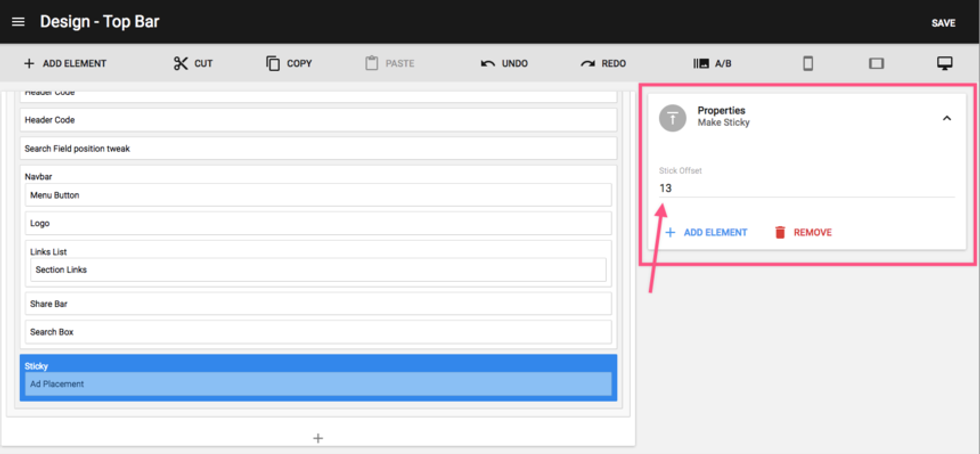
The idea here is that you can avoid any overlaps with the Top Bar or other elements in the way.
5. Remember to click Save when you're done!


